Workday: Set up the candidate.fyi custom object
Last updated: August 27, 2026
candidate.fyi writes scheduling data onto the Job Application as a custom object. Workday then shows that data on the application’s Additional Data tab (and in reports, if you add the fields).
This article covers creating the custom object, fields, and security. Aliases must match exactly (case-sensitive). Display names do not.
Before you start
You need a Workday user who can:
Create custom objects
Edit domain security policies
Activate pending security policy changes
You also need the existing candidate.fyi Integration System User (ISU) (or equivalent integration user). That user will get access to this custom object.
1. Create the custom object
In the Workday search bar, go to Create Custom Object.
Set the parent business object to Job Application.
Fill in:
Setting
Value
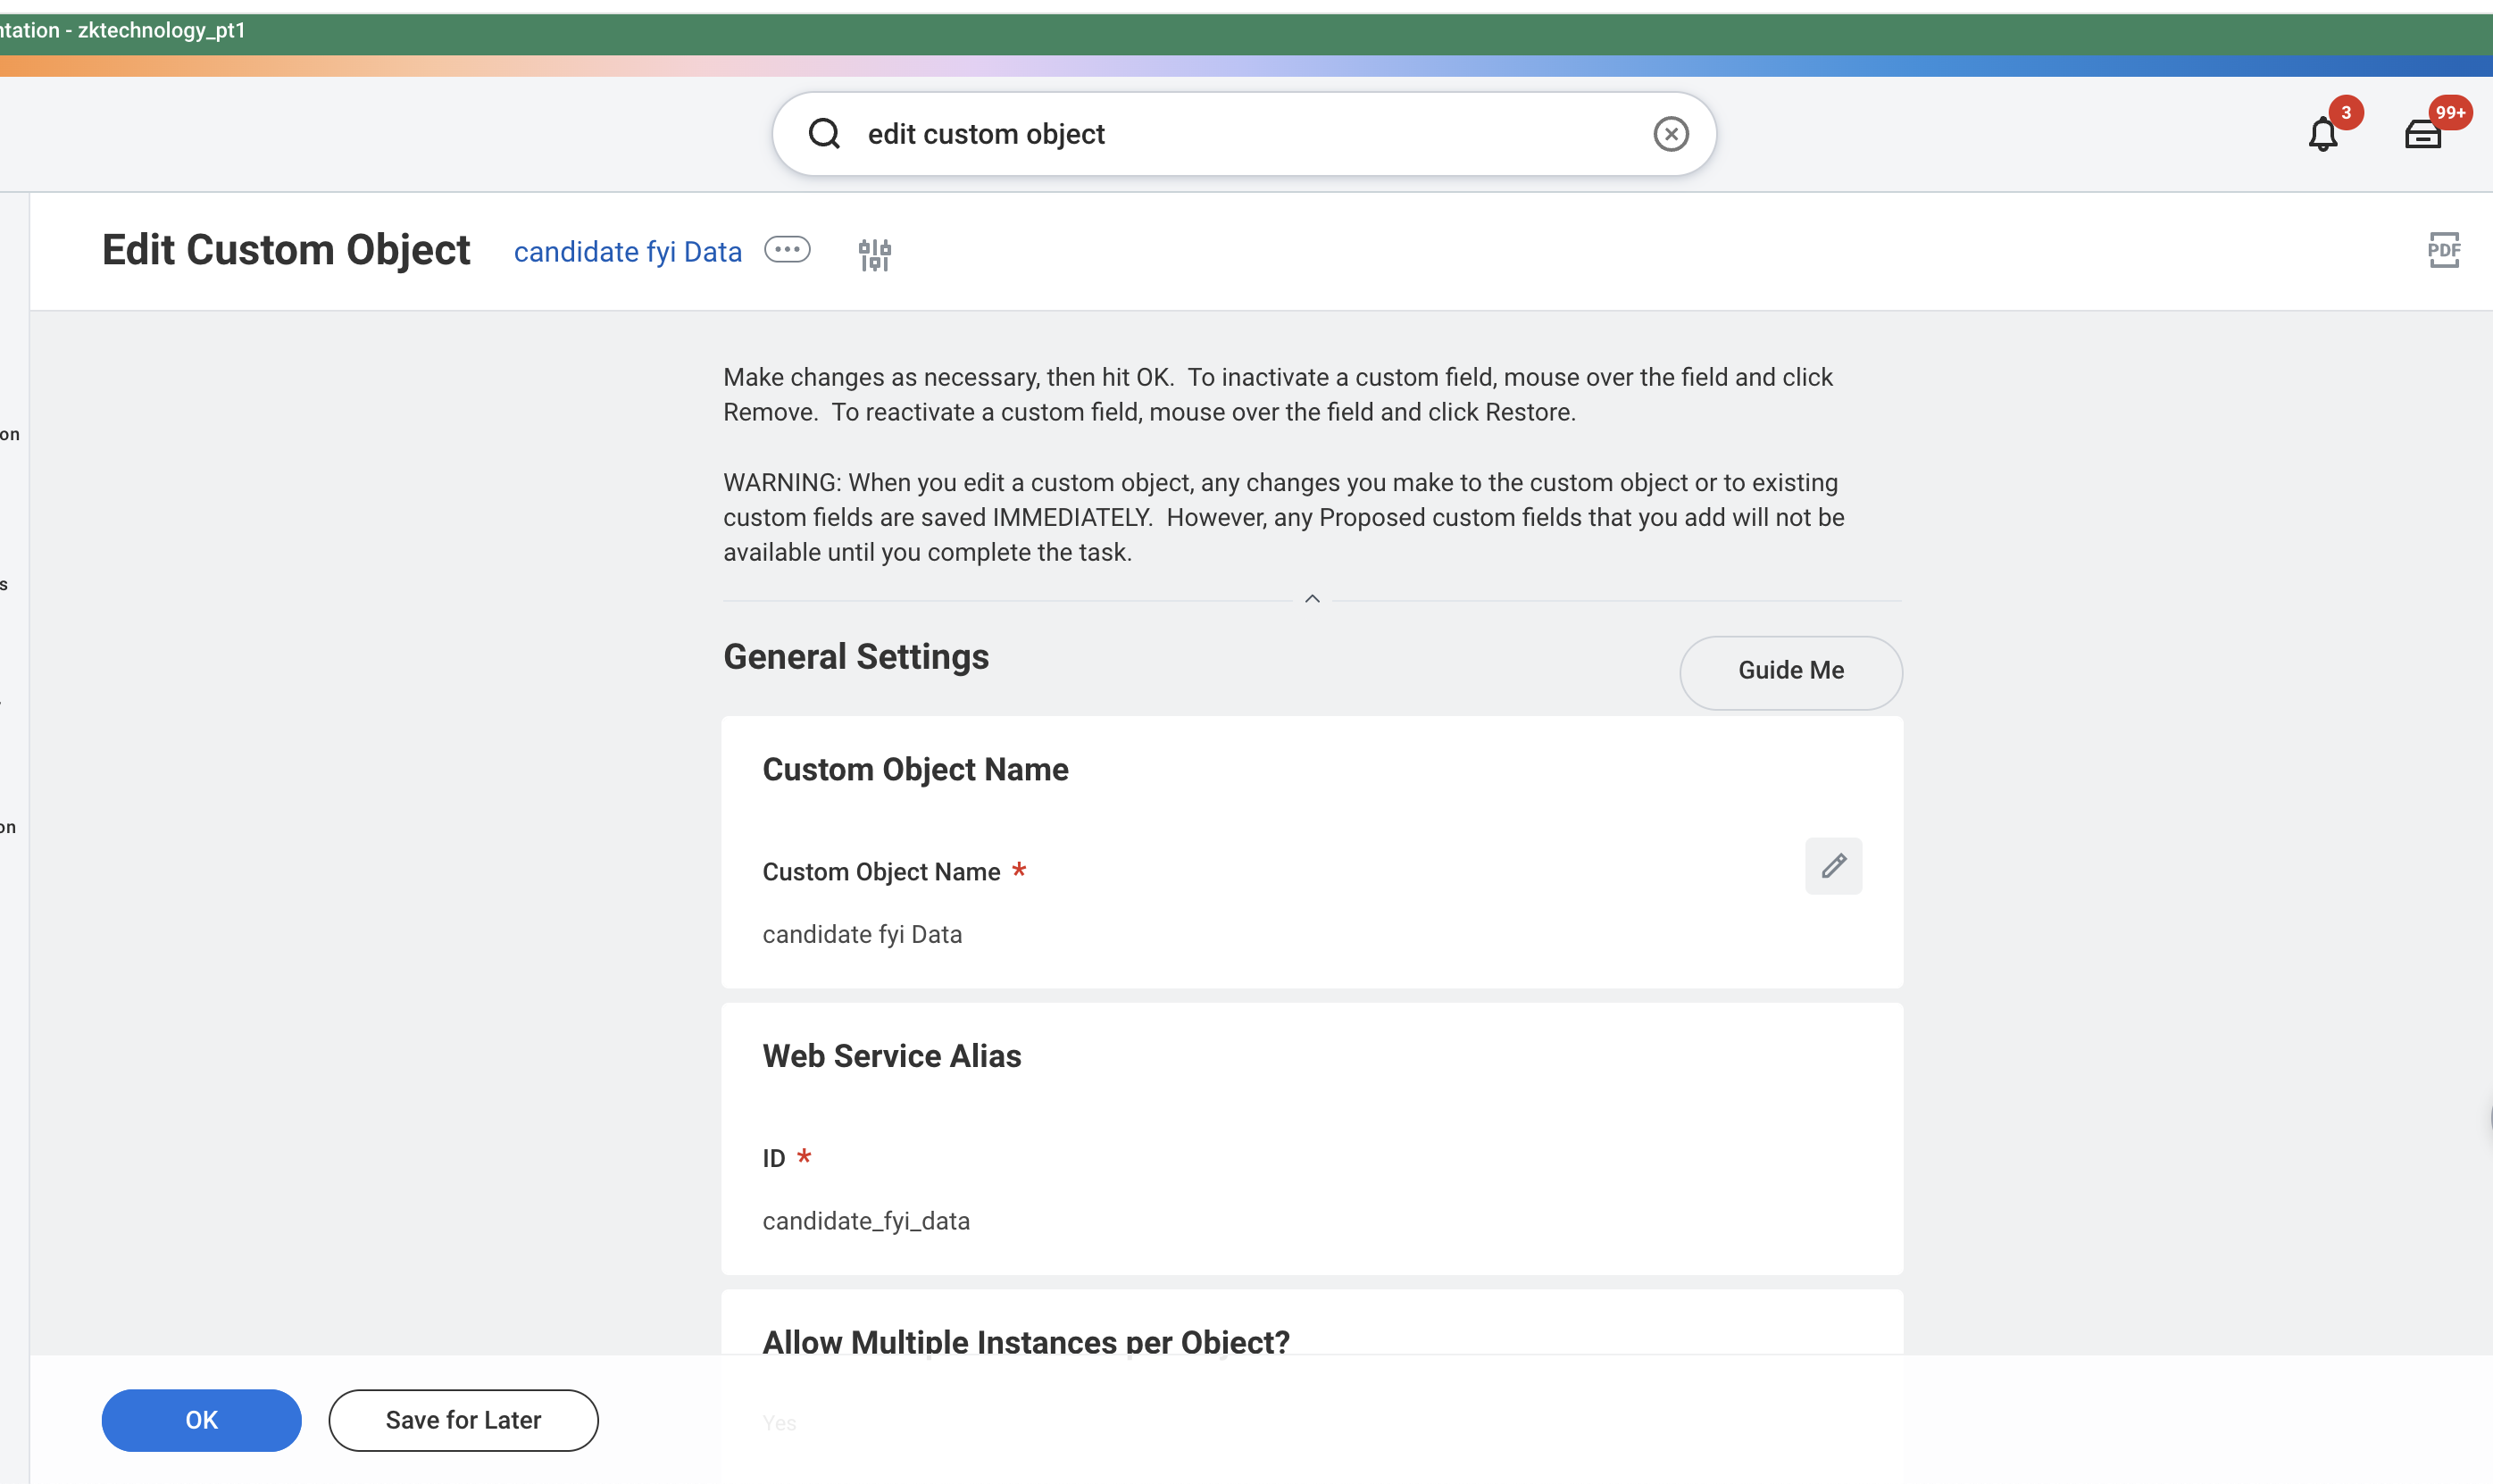
Name (display)
Candidate FYI Data (or similar)
Web Service Alias
candidate_fyi_dataAllow Multiple Instances
Yes
Effective Dating
No (not effective-dated)
Multiple instances are required: one job application can have more than one CandidateFYI scheduling request. CandidateFYI updates an existing row when
schedulingRequestIdalready exists; otherwise it creates a new row.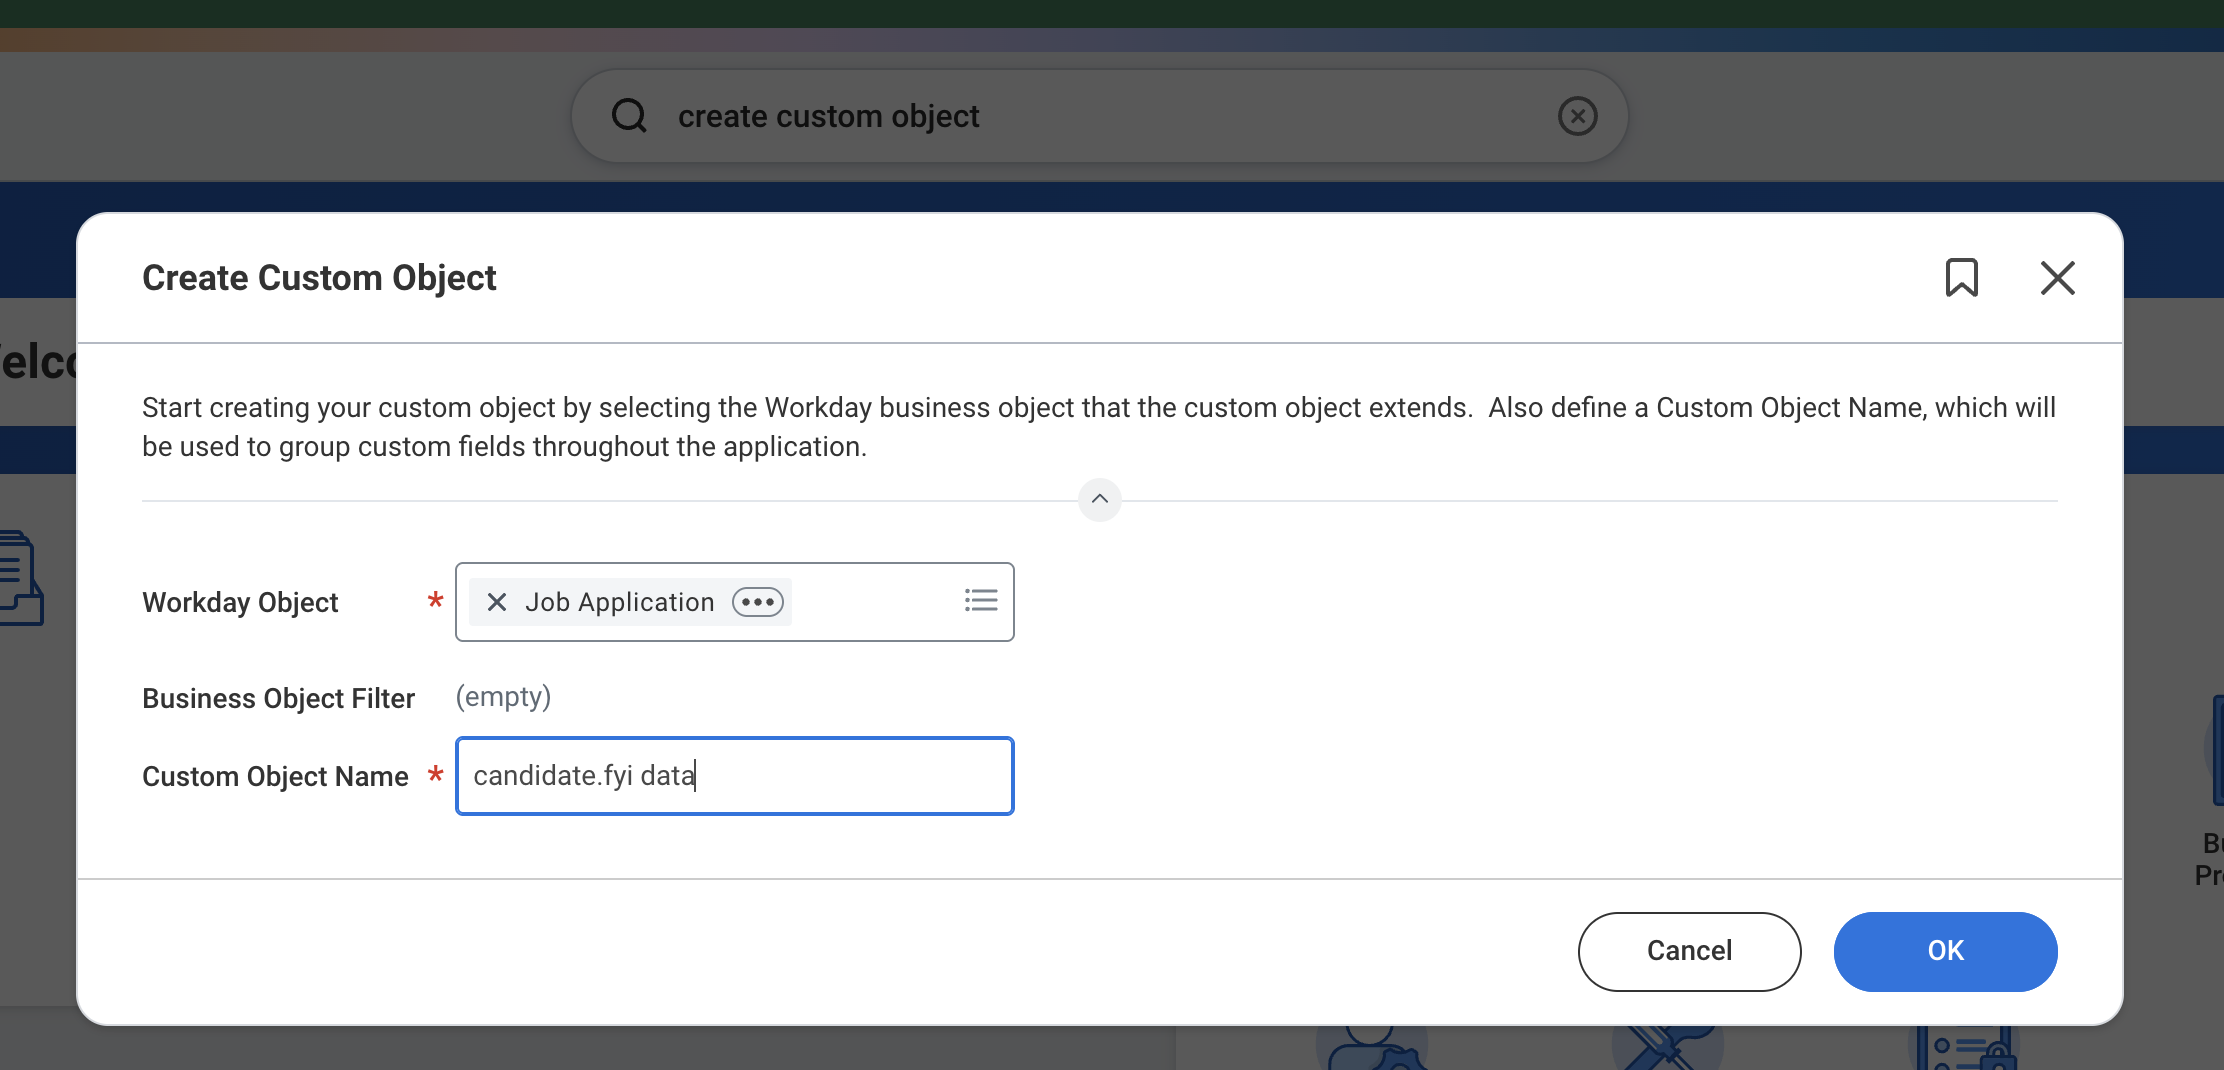
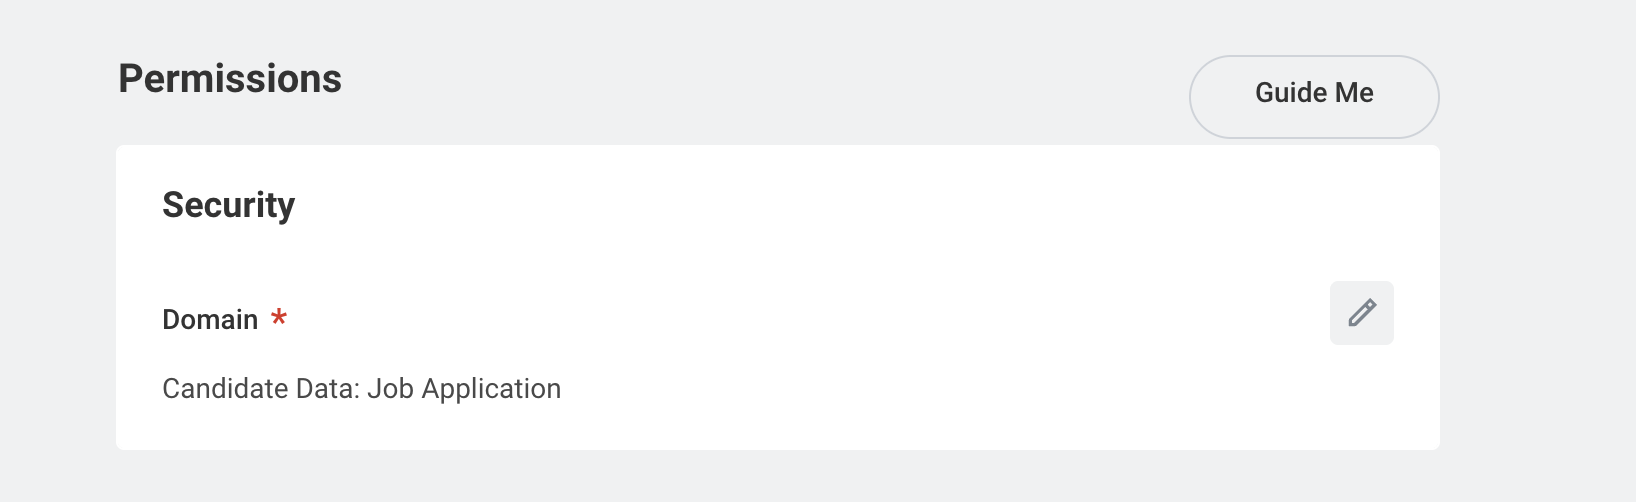
Assign the object to a domain (create a new domain if your tenant prefers that, e.g. “candidate.fyi Custom Object”). Or assign it to one of the existing domains that the the candidate.fyi ISU has access to
Submit.
2. Create the custom fields
Open the new object (View Custom Object or Edit Custom Object) and add fields.
Required fields
Create these four. CandidateFYI will not write a row without them.
Suggested display name | Web Service Alias (exact) | Field type | Notes |
|---|---|---|---|
Scheduling Request ID |
| Text | Unique key per request. Used to update vs. create. |
Status |
| Text | candidate.fyi scheduling status. |
Scheduling Request |
| Text | URL to the candidate.fyi request. |
Requires Action |
| Text | Action needed in (stored as text, not boolean). |
Last Activity Date |
| Text | Timestamp the last update was sent to WD |
Optional fields
Create these if you want the extra data on the job application.
Suggested display name | Web Service Alias (exact) | Field type | Notes |
|---|---|---|---|
Application Step |
| Text | Workday business process step ID as text. |
Candidate FYI Form Response |
| Long text | Note: You may want to setup a custom field type for this with the max size set to your tenant maximum. |
Candidate FYI Notes |
| Text | Same as above. |
Scheduler |
| Single instance → Worker (or Employee) | candidate.fyi sends an |
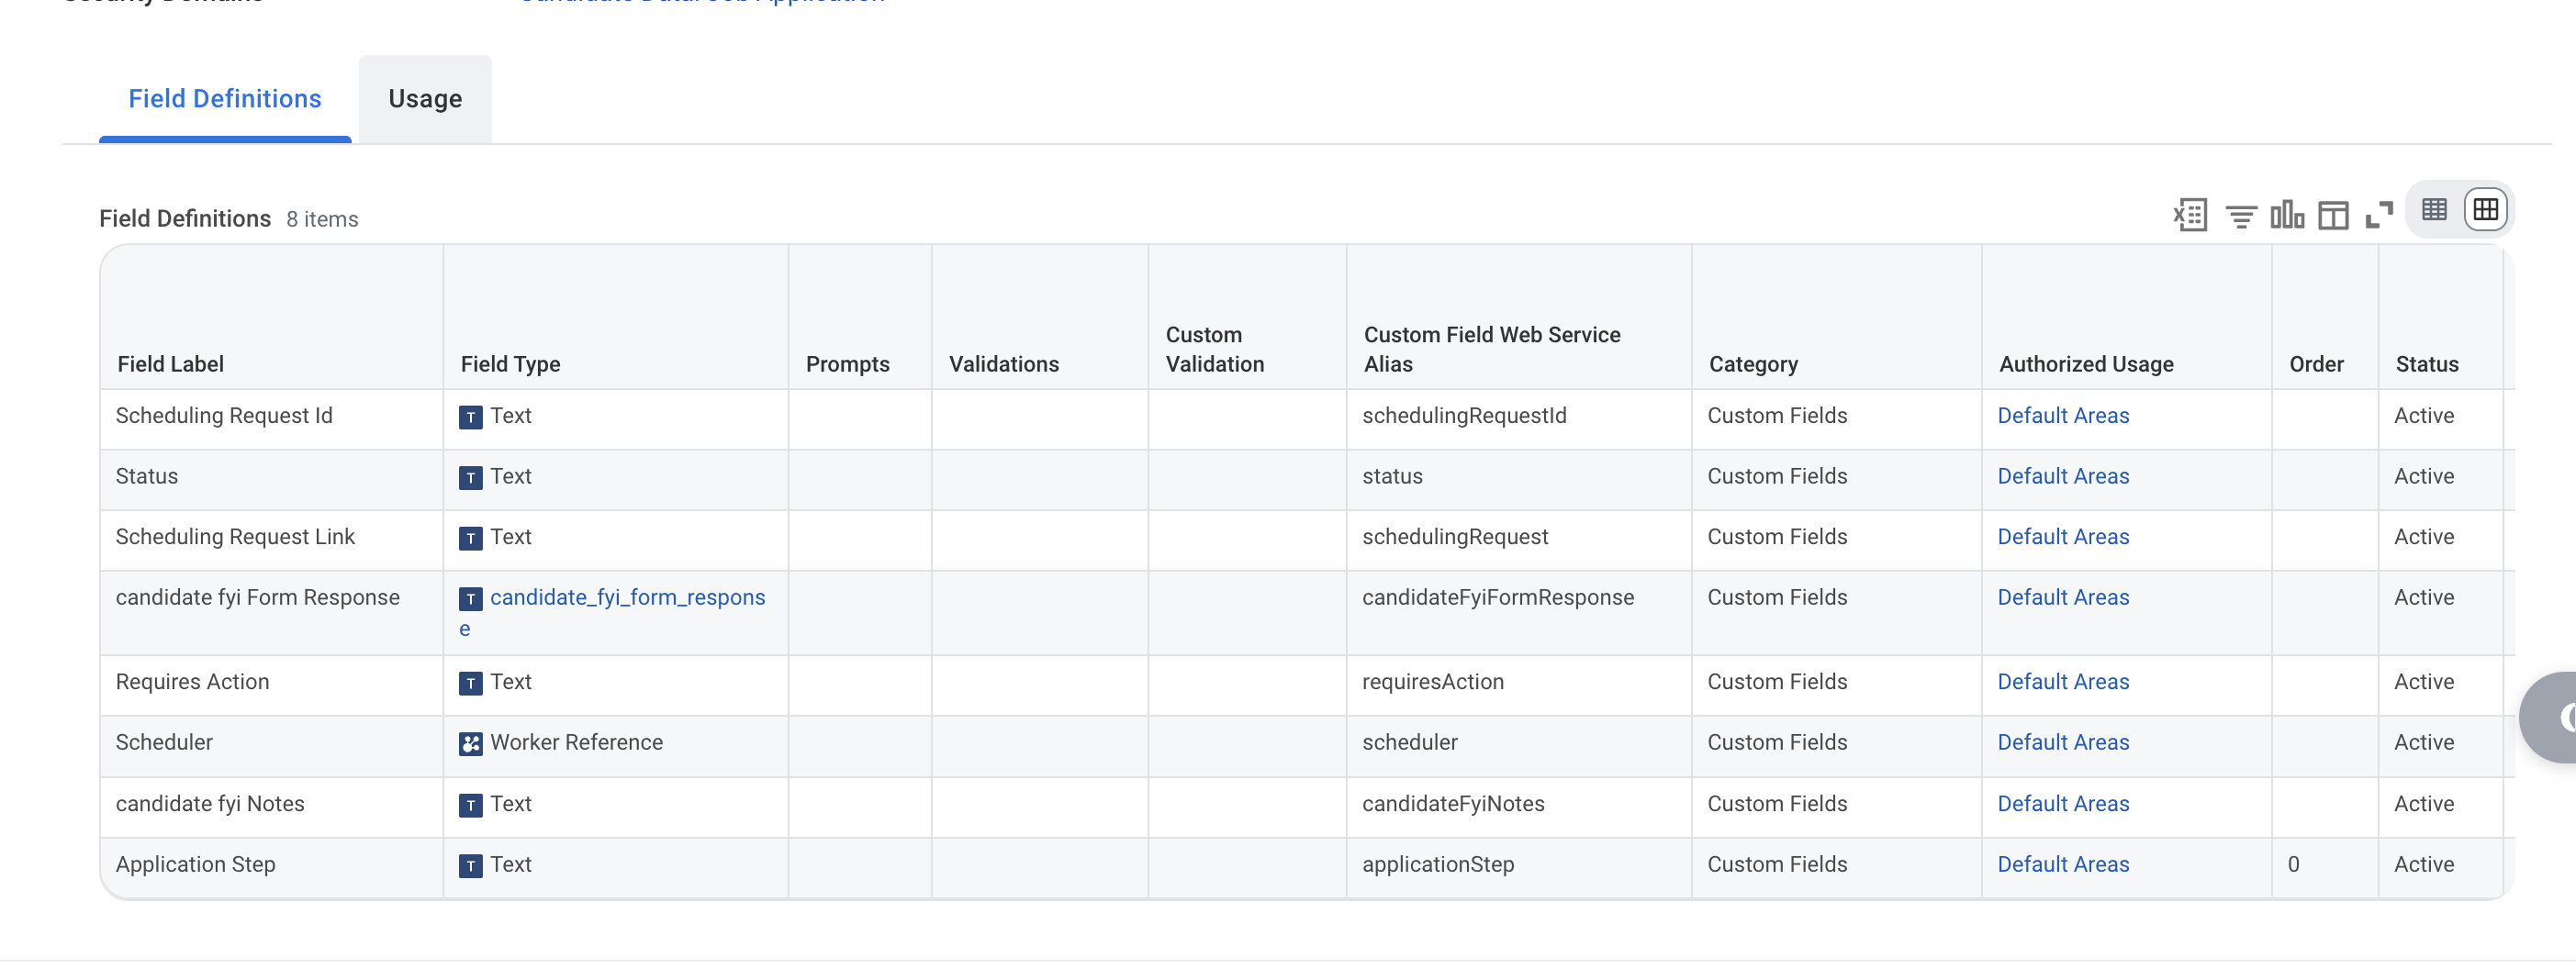
Alias checklist
Confirm aliases on View Custom Object. They must match this list, including camelCase:
Object:
candidate_fyi_dataschedulingRequestIdstatusschedulingRequestrequiresActionlastActivityDateapplicationStep(optional)candidateFyiFormResponse(optional)candidateFyiNotes(optional)scheduler(optional)
Do not create a field named candidate_fyi_dataReference. Workday adds the instance reference automatically.
3. Show the data on the job application (Optional)
Search for Edit Tenant Setup - Recruiting or the task your tenant uses to configure Job Application Additional Data.
Add candidate.fyi data so recruiters can see it on the job application (Additional Data / related actions).
4. Security
The CandidateFYI ISU needs:
Get Job Application Additional Data
Put Job Application Additional Data
Access to the custom object domain you assigned in step 1
Custom object domain
Search Domain Security Policies for Functional Area (or Edit Domain Security Policy).
Open the domain for this custom object.
Grant the ISU’s security group Get and Put (or View / Modify, depending on how the domain is labeled).
Job Application Additional Data web services
Find the domain that includes:
Get Job Application Additional Data
Put Job Application Additional Data
(typically under Recruiting / Job Application)
Grant the same ISU security group access to those operations.
Activate changes
Search Activate Pending Security Policy Changes.
Review and activate.
Security changes are not live until this step completes.
5. Verify
Open a job application in Workday and confirm candidate.fyi data appears (empty is fine).
On View Custom Object, confirm the web service alias is
candidate_fyi_data.Tell CandidateFYI that the object is live in this tenant. After the next scheduling write, you should see a row with
schedulingRequestId,status,schedulingRequest, andrequiresAction.